Posted onEdited onInComputer Science Symbols count in article: 9.2kReading time ≈8 mins.
Lesson01 08/24/2022
words
reflective
refractive 折射的
pan 移動拍攝
cone 圓錐
Blender operations
Typical workflow: select an object, modify its properties
Changing view:
Arbitrary change: press middle mouse button and drag, or you can
drag the xyz coordinates on the top right corner
Pan view(horizontal / vertical movement only): press shift key and
press middle mouse button and drag
Zoom in/out: scroll up/down with middle mouse button
You can also use the view panel to change view direction
Deleting an object: select the object and press key x
Adding a new object: use the add menu to add a new object, or you
can use SHIFT + A to add a new object
Transforming objects
Scale: select the object, press S, then drag to scale
the object, left click to confirm/right click to cancel, use
S + X/Y/Z to scale
along the x/y/z axis. You can use S (+
X/Y/Z) + a number to
scale the object to a specific size
Rotate: select the object, press R, then drag to rotate
the object, left click to confirm/right click to cancel, use
R + X/Y/Z to rotate
the object along the x/y/z axis
Translate(move): select the object, press G, then drag
to move the object, left click to confirm/right click to cancel, use
G + X/Y/Z to move
along the x/y/z axis
Duplicate objects: select the object, then SHIFT +
D to duplicate the object, you can duplicate multiple
objects by selecting multiple objects and then SHIFT +
D
Set the parent of an object
If object A is the parent of object B, then object B will move along
with object A
How: select object B, then select object A, then press
CTRL + P to set object A as the parent of
object B
If there are multiple objects selected, then the last selected
object will be the parent of the other selected objects
Lesson02 08/29/2022
Blender operations
Change the origin of an object: select the object, choose
set origin in the object menu, then
origin to 3D cursor
Simple mesh objects...
Lesson03 08/31/2022
Materials
Principled BSDF(bidirectional scattering distribution function): the
most commonly used material
BSDF is a superset and the generalization of the BRDF(bidirectional
reflectance distribution function) and BTDF(bidirectional
transmittance透光度 distribution function)
Change the viewpoint shading options to view the materials:
wireframe綫框, solid (materials invisible),
material preview(use Eevee as renderer),
rendered (can use other renderers)
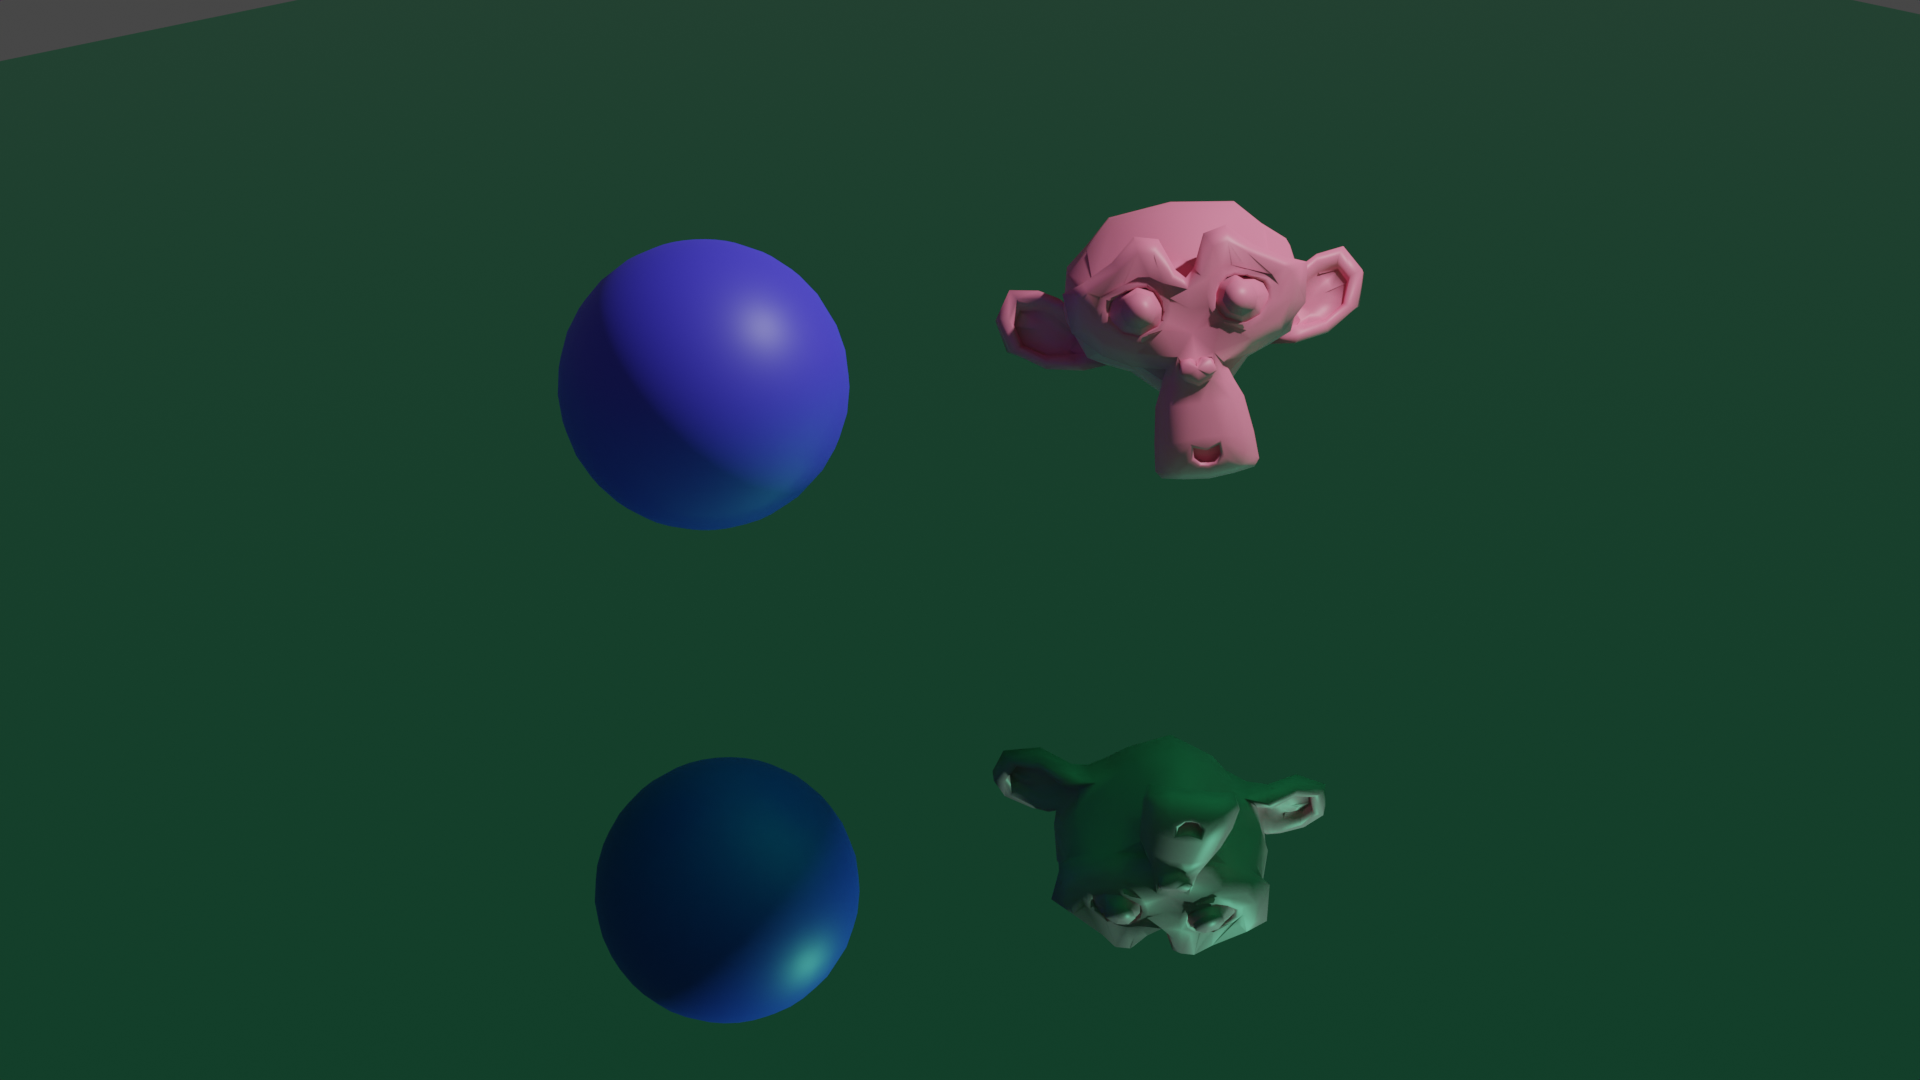
Change the shading of an object: select the object, click the
object menu, choose Shade Smooth(default is
Shade Flat)
Make the surface reflective: metallic = 1,
roughness = 0, change the render engine to
Cycles
If you use the Cycles renderer, you let the renderer
use fewer samples, so your computer will not stuck and the whole process
will be faster
Mesh editing
Use Tab to change between Object mode and
Edit mode
In edit mode, you can select vertices, edges, and faces
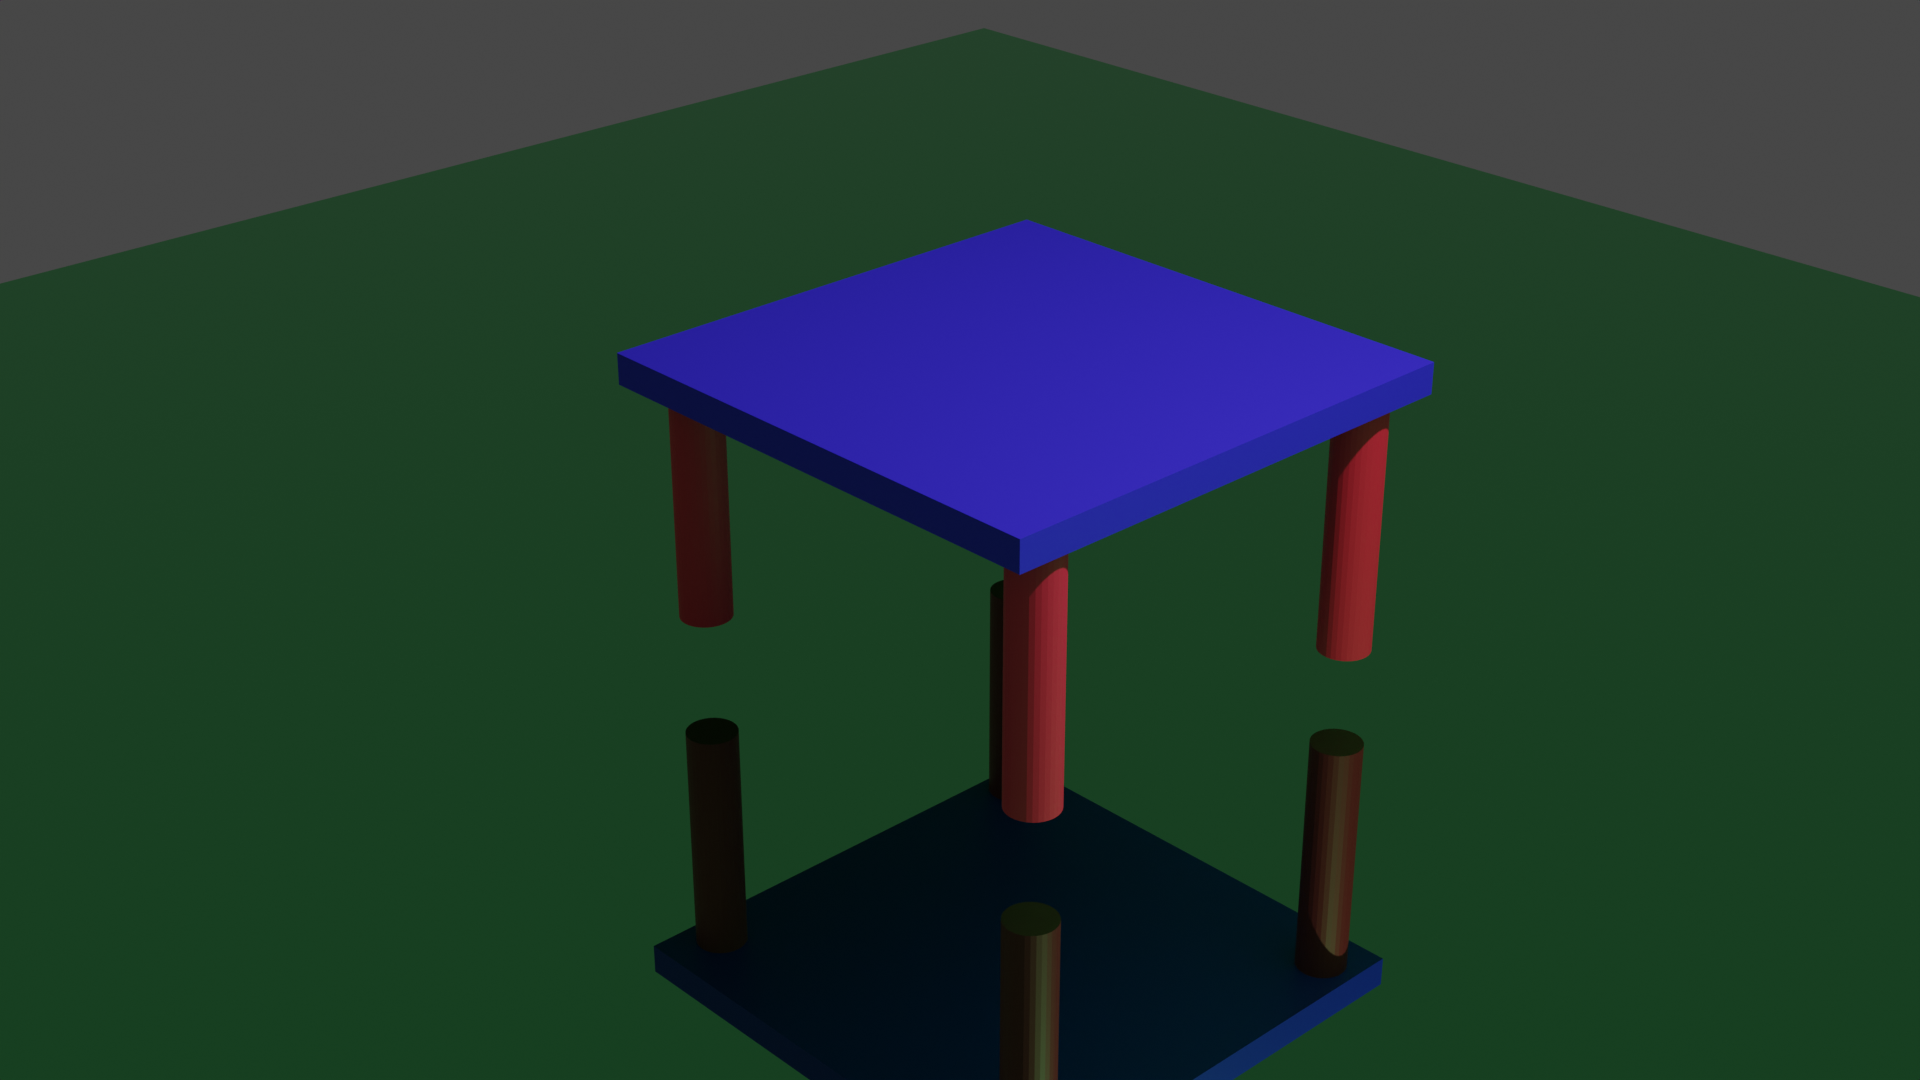
You can create a material and assign it to part of an existing
object
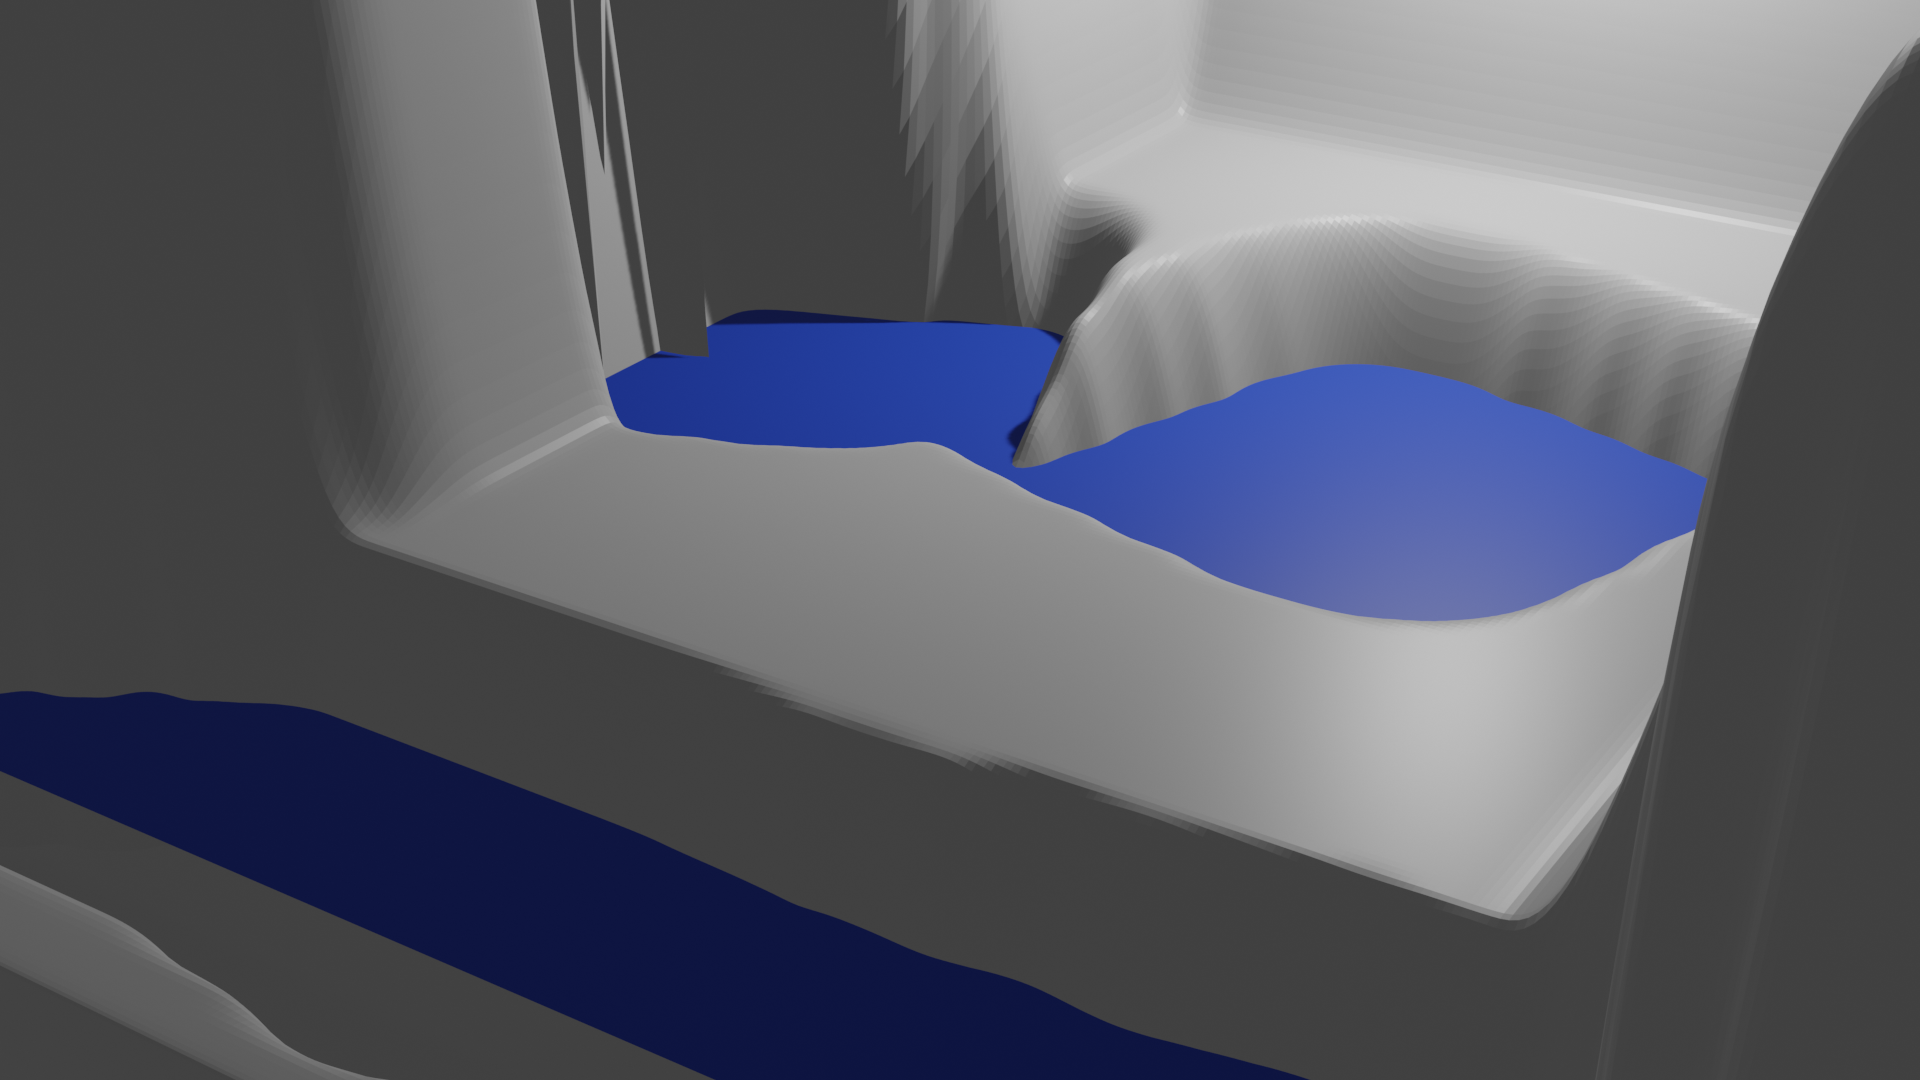
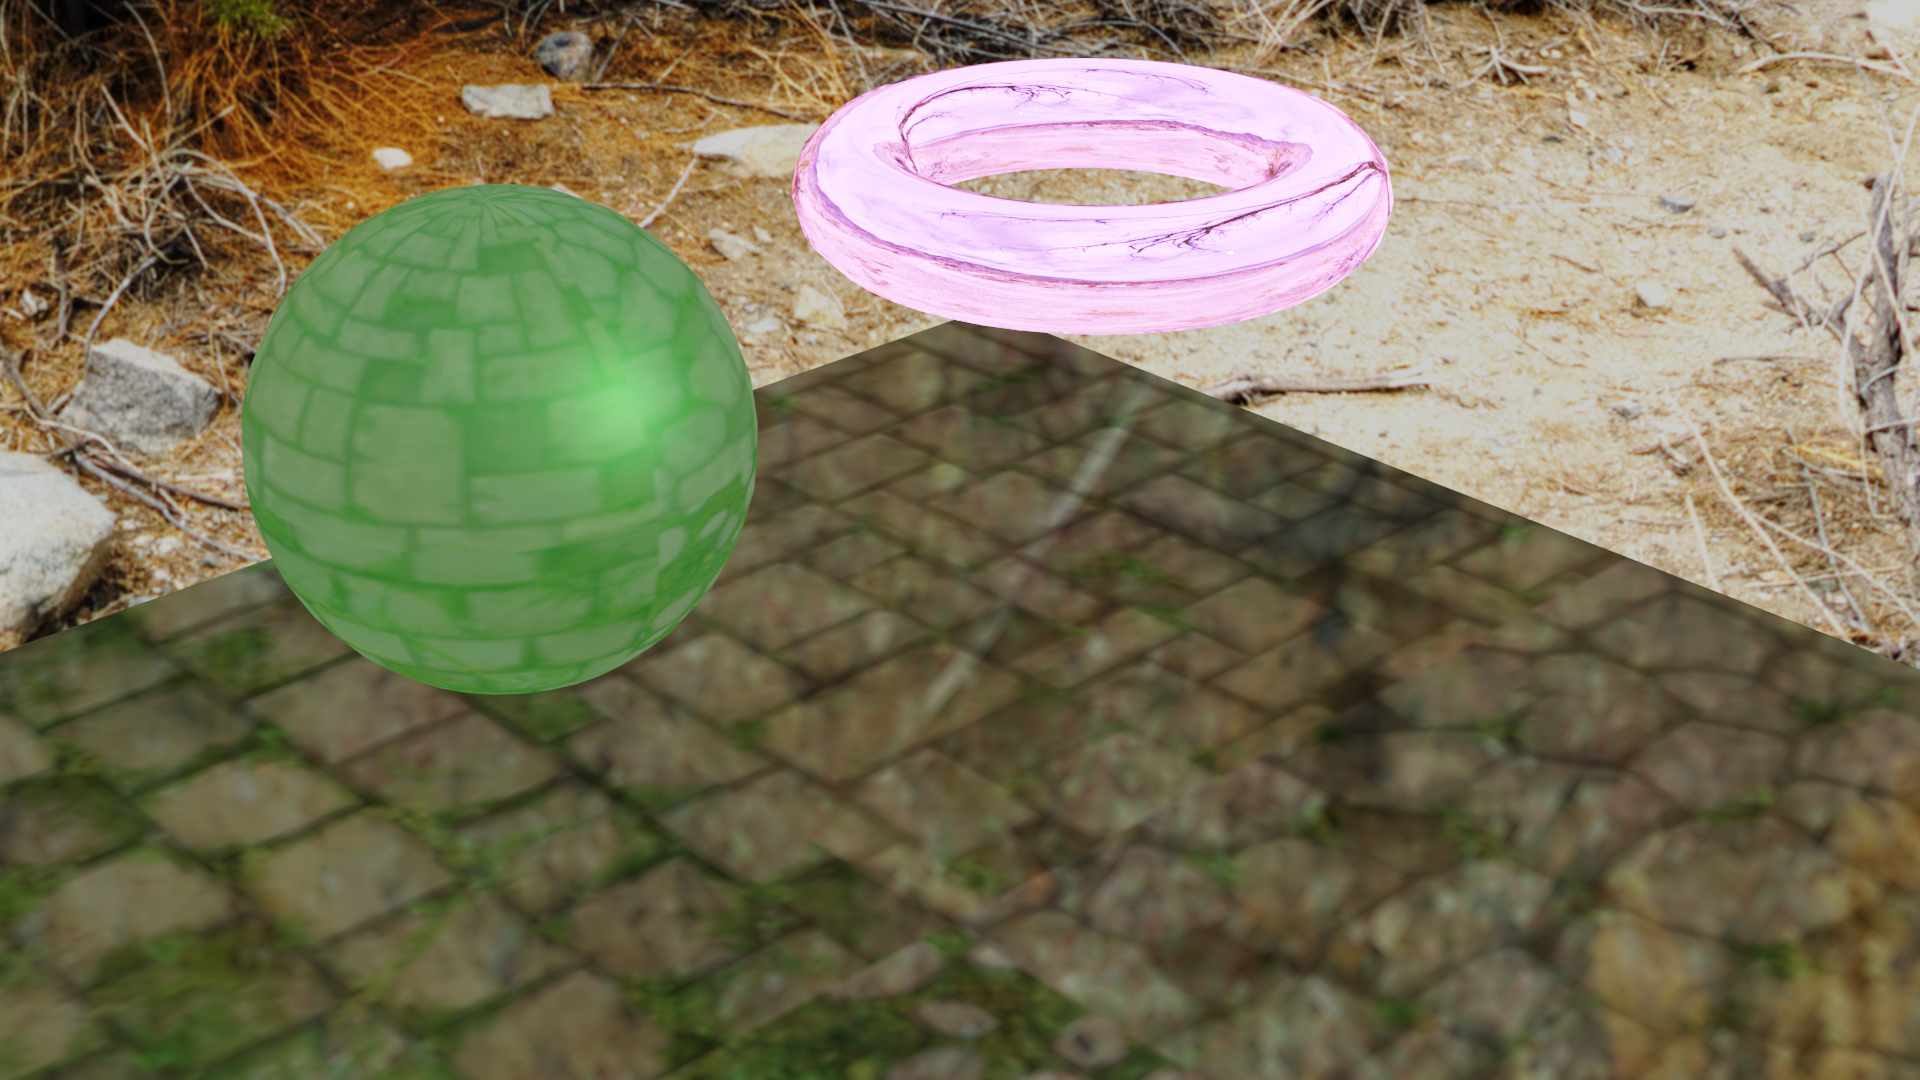
Simple material objects The plane below is totally reflective
Lesson04 09/01/2022
Subdividing a plane
Change from object mode to edit mode, select the whole plane, and
choose Subdivide in the Edge menu
You can number of cuts inside one subdivision
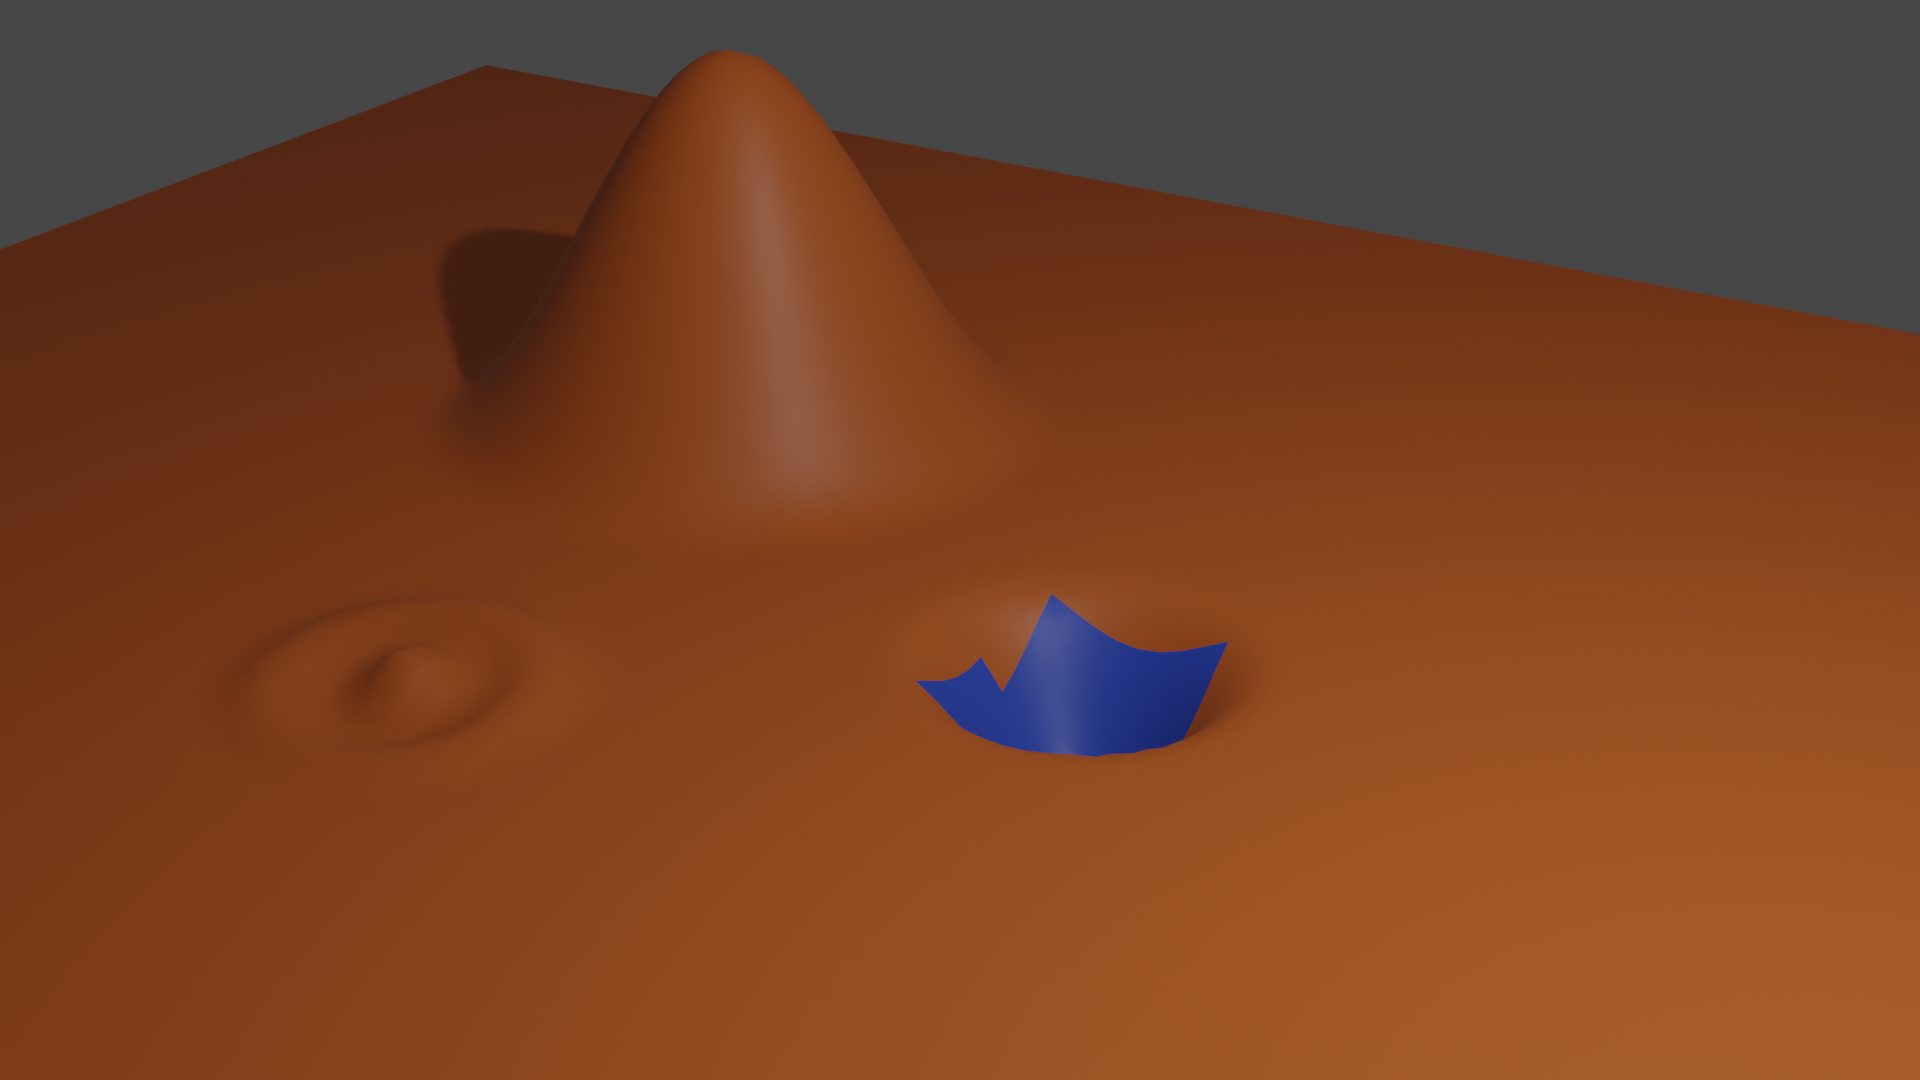
Proportional Editing
If you want to edition to a vertex influence its neighbors, you can
use proportional editing
All vertices inside the target circle area will be affected, you can
use the middle button to change the size of the circle
When you are done with proportional editing, you should turn it off
to avoid accidentally editing other vertices
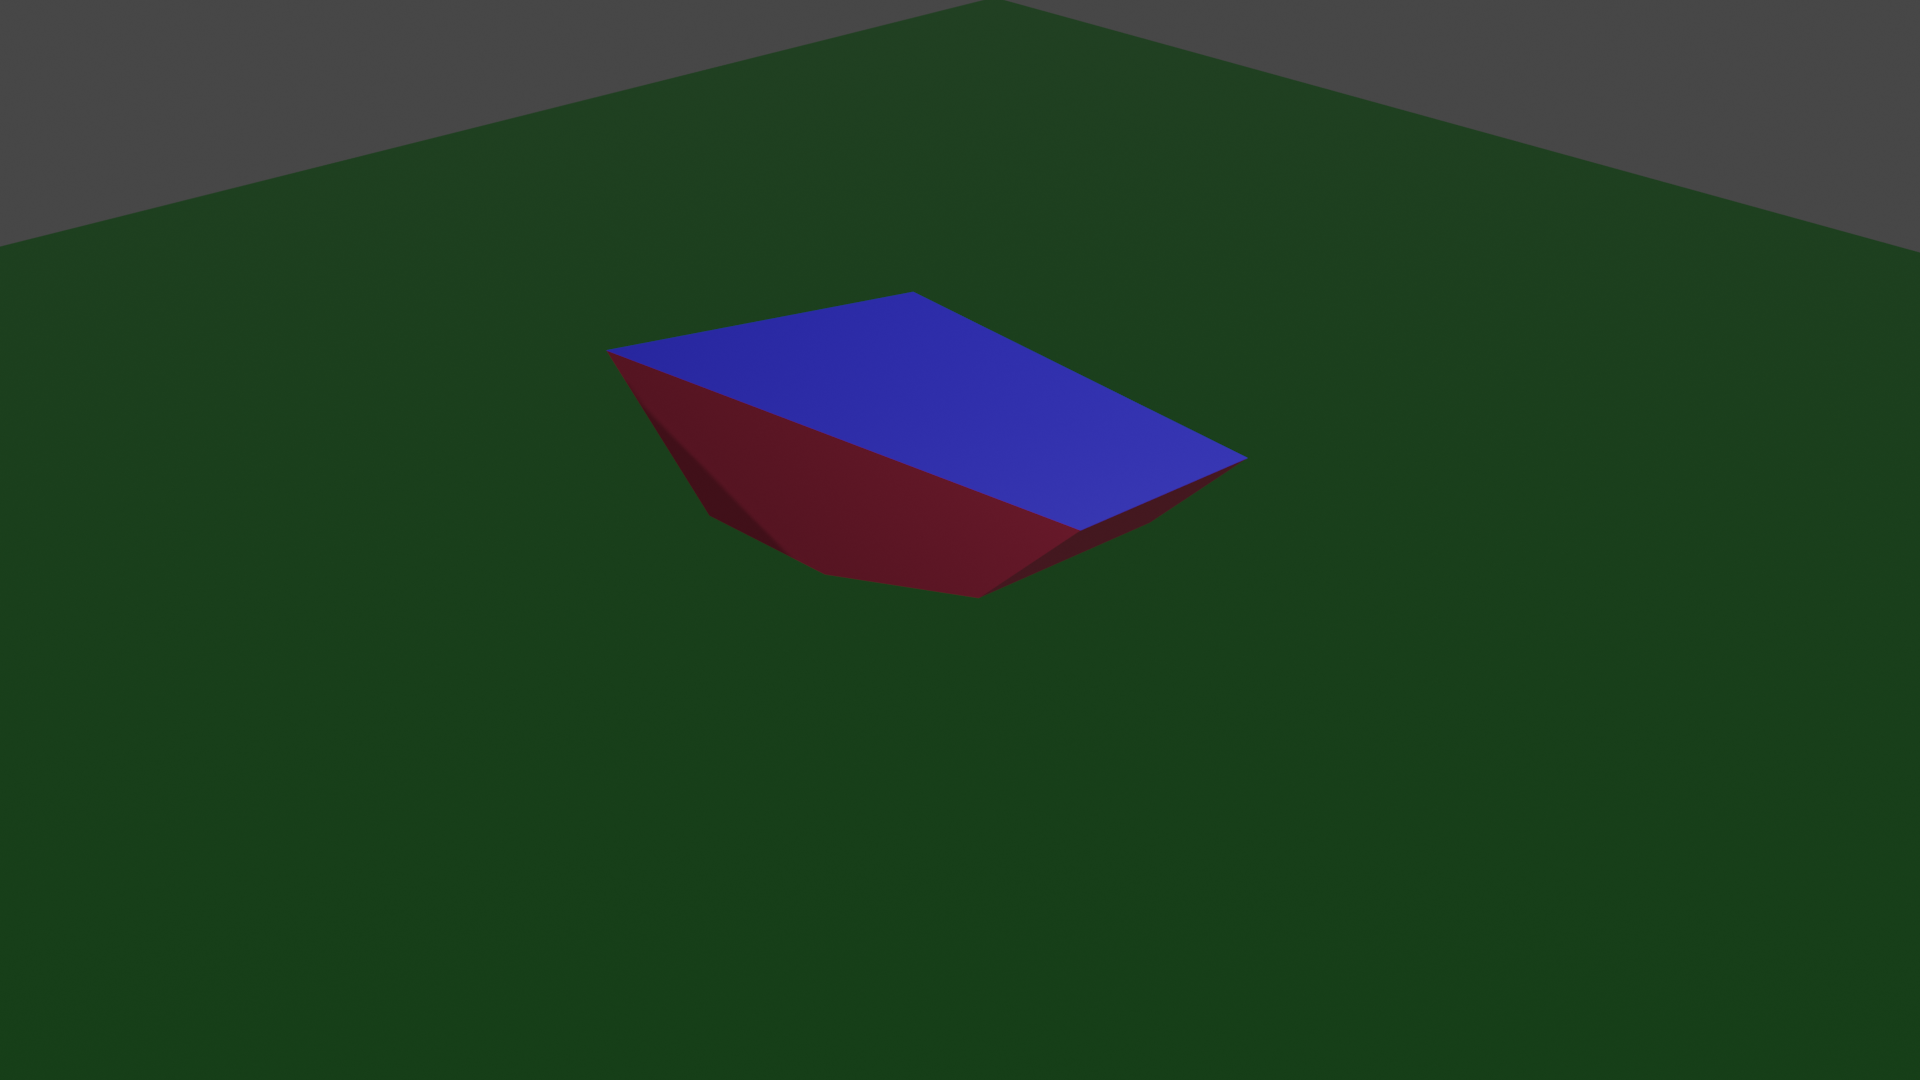
Extrusion modeling
Extrude Faces duplicate faces, while keeping the new geometry
connected with the original vertices
Change from object mode to edit mode, select the face you want to
extrude, use shortcut E to extrude, or use the
Extrude faces in the Face menu
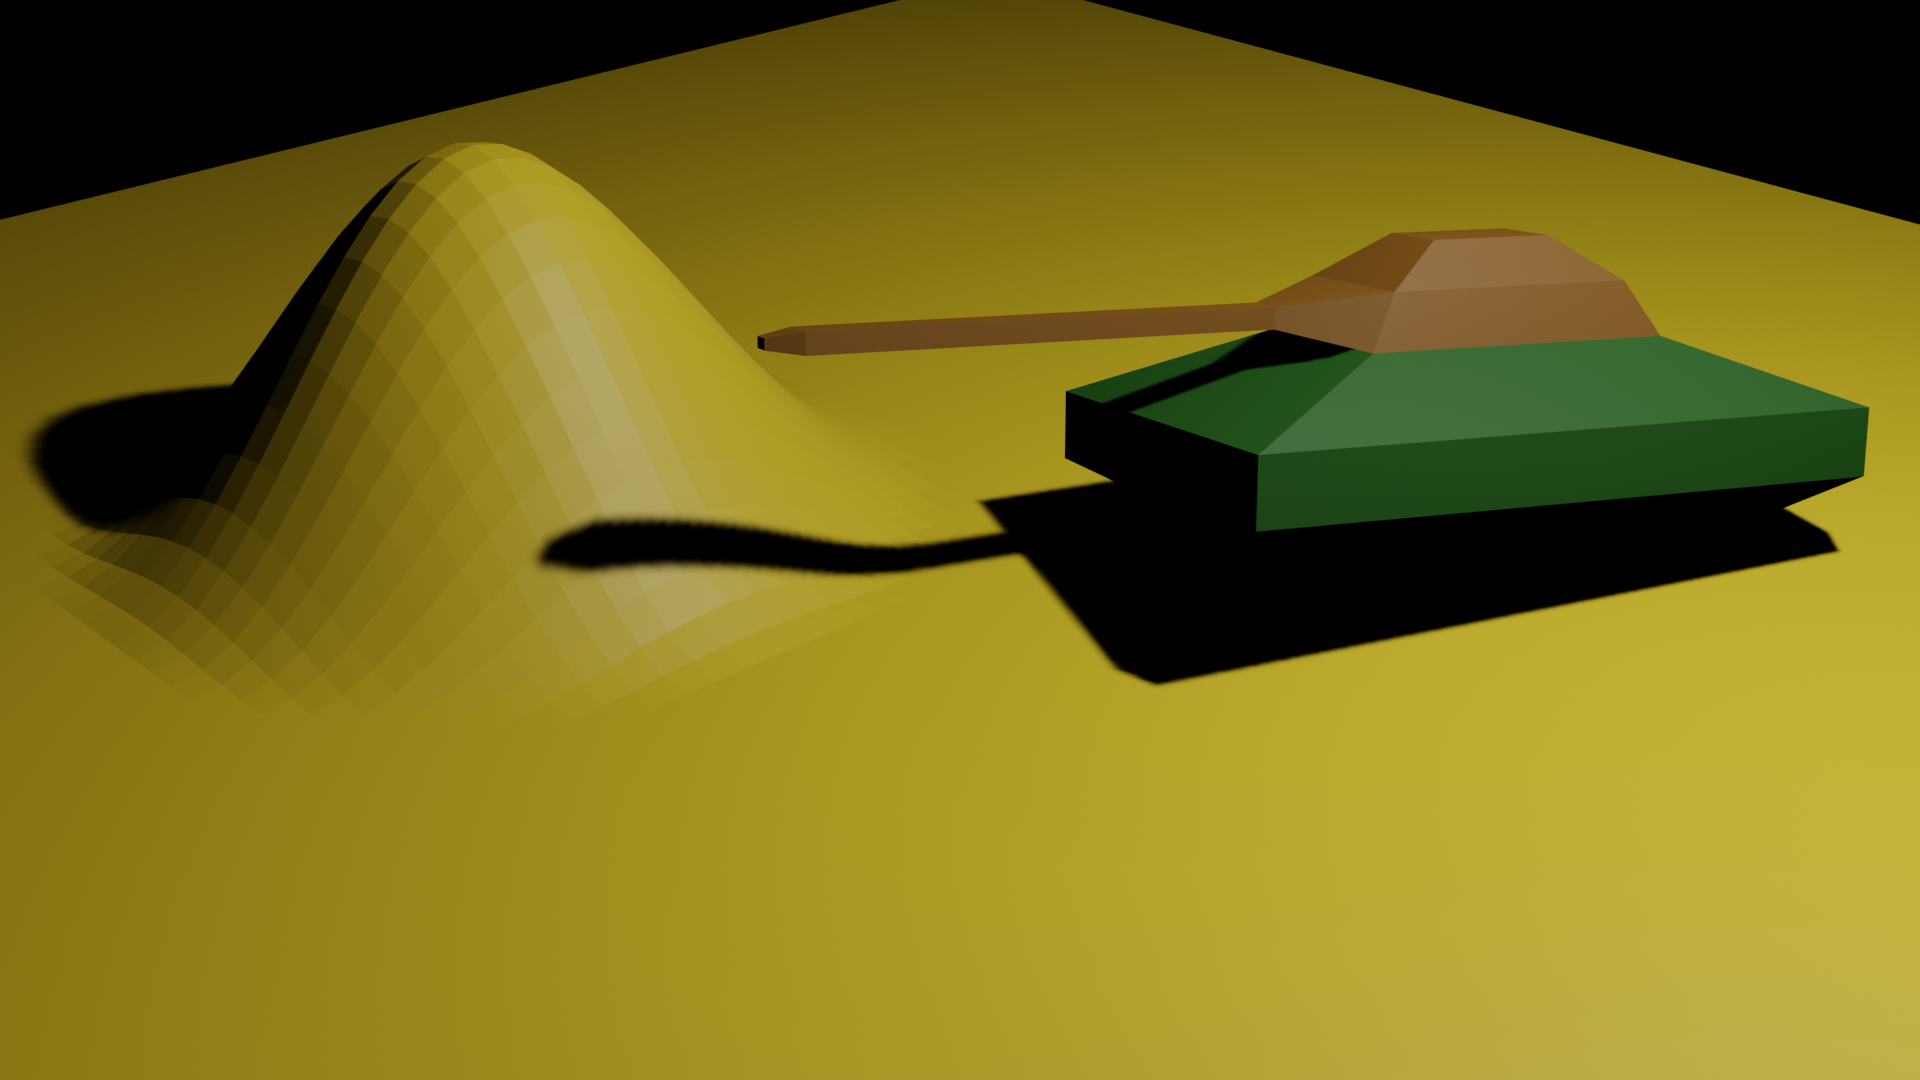
Modifiers
Modifiers are automatic operations that affect an object’s geometry
in a non-destructive way
With modifiers, you can perform many effects automatically that
would otherwise be too tedious to do manually and without affecting the
base geometry of your object
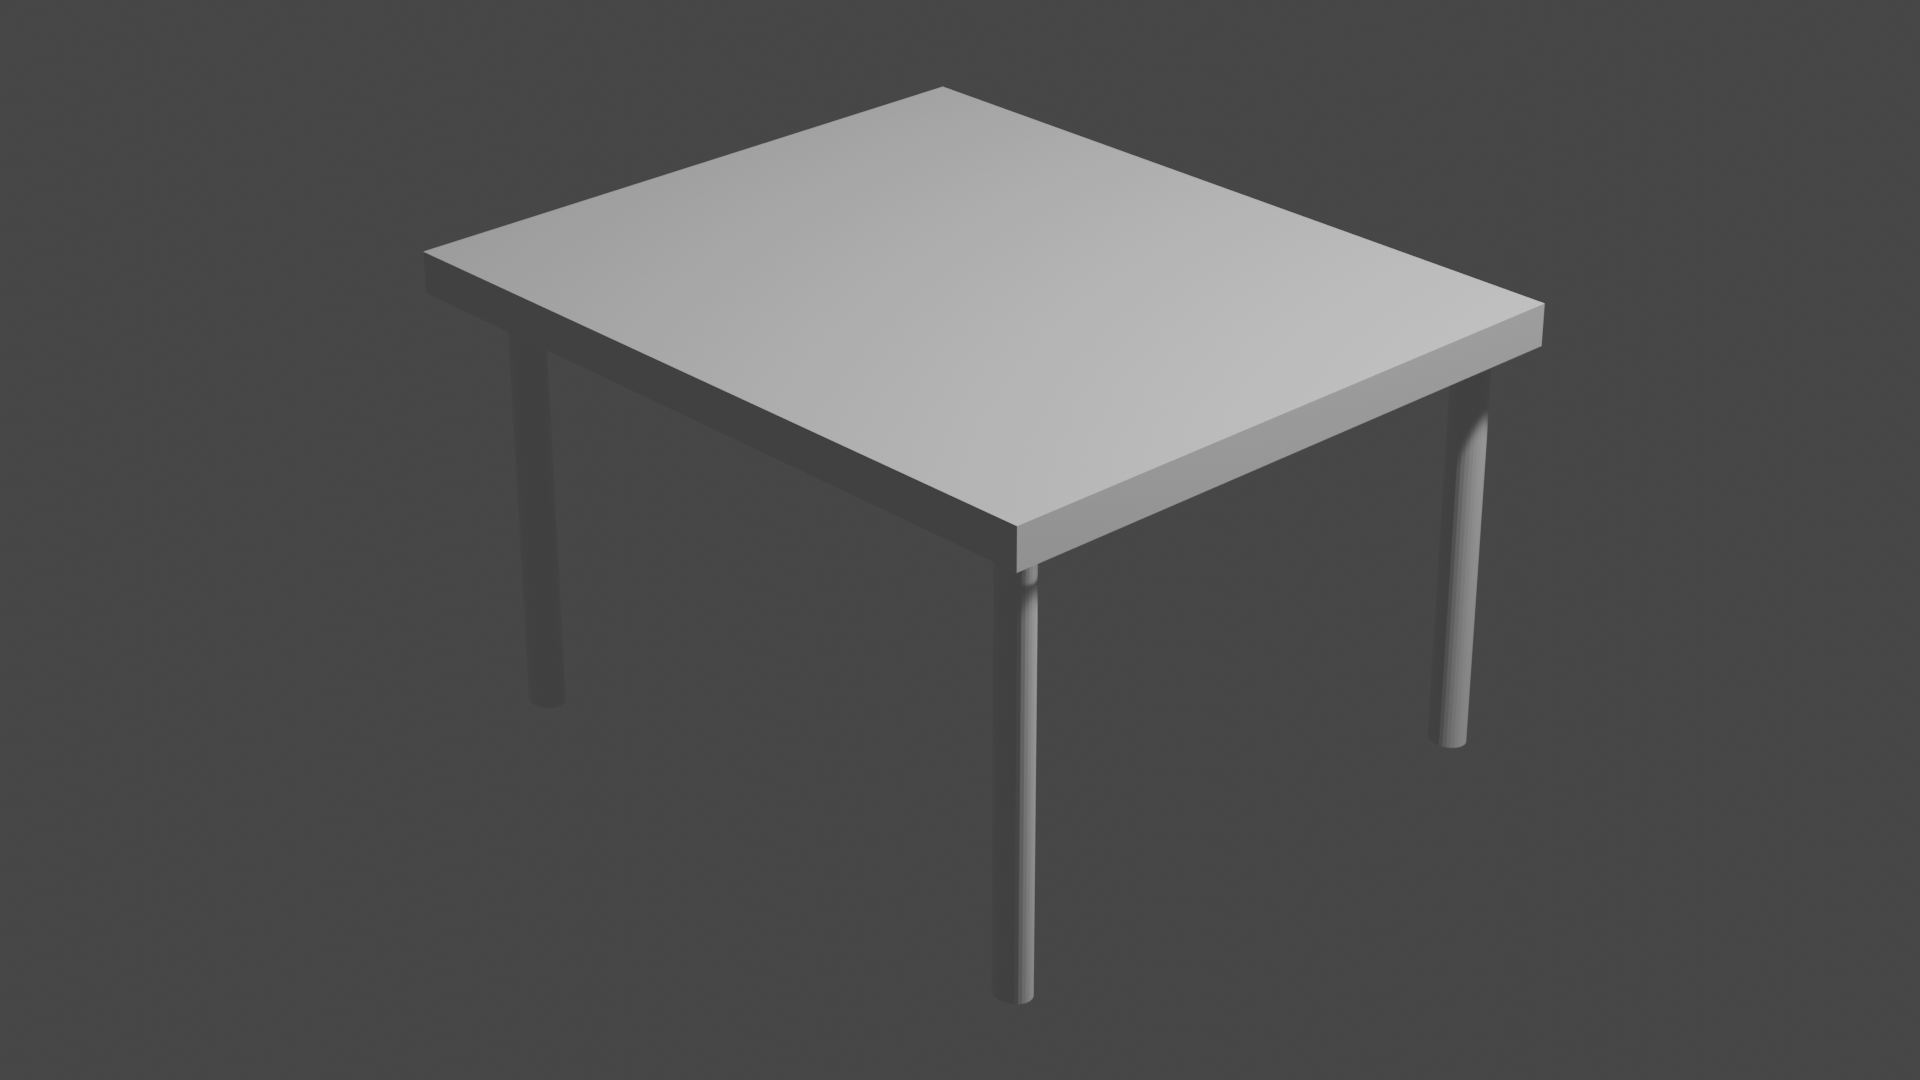
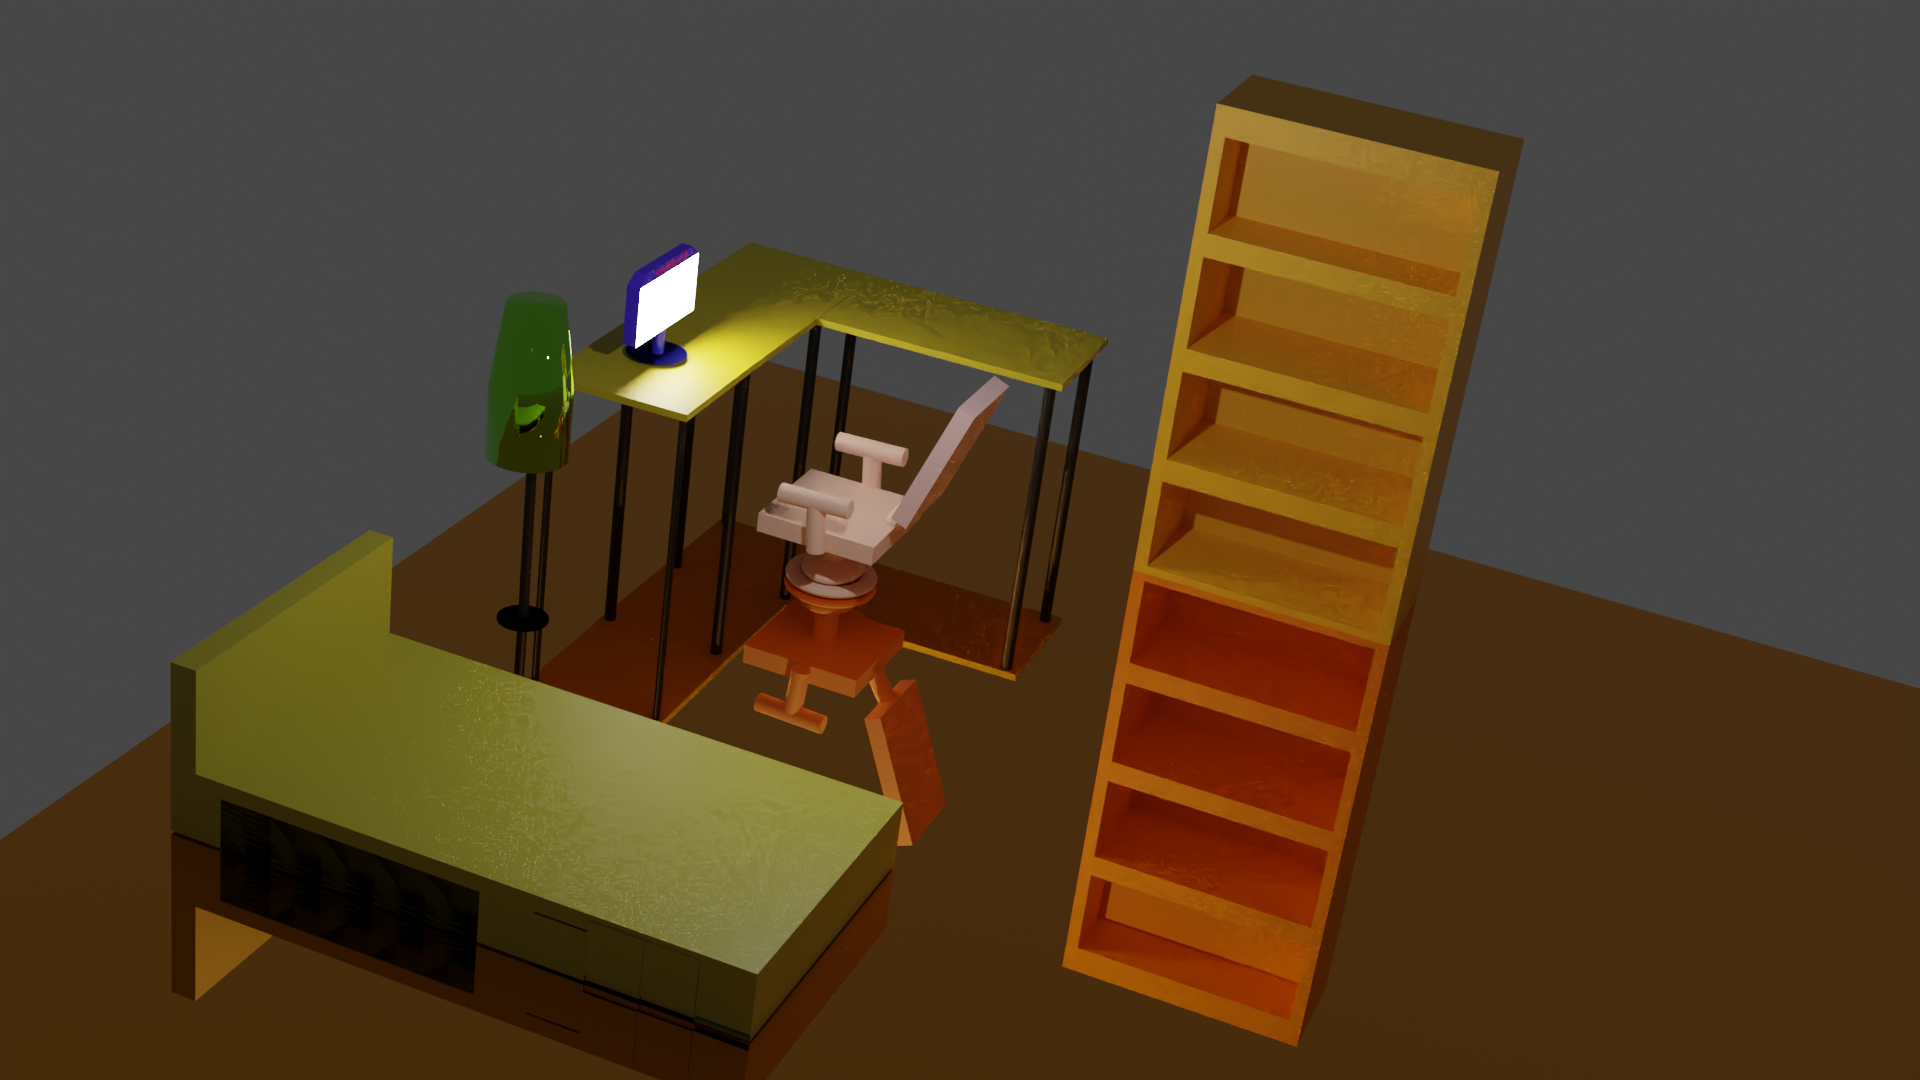
Simple objects This is a picture of my room, it contains a L-shaped
desk with a computer on it, an office chari, a floor lamp, a book shelf
and a bed
Lesson05 09/07/2022
Textures (纹理) Intro
There are two types of textures: environment textures and object
textures
You can use online texture websites to find textures
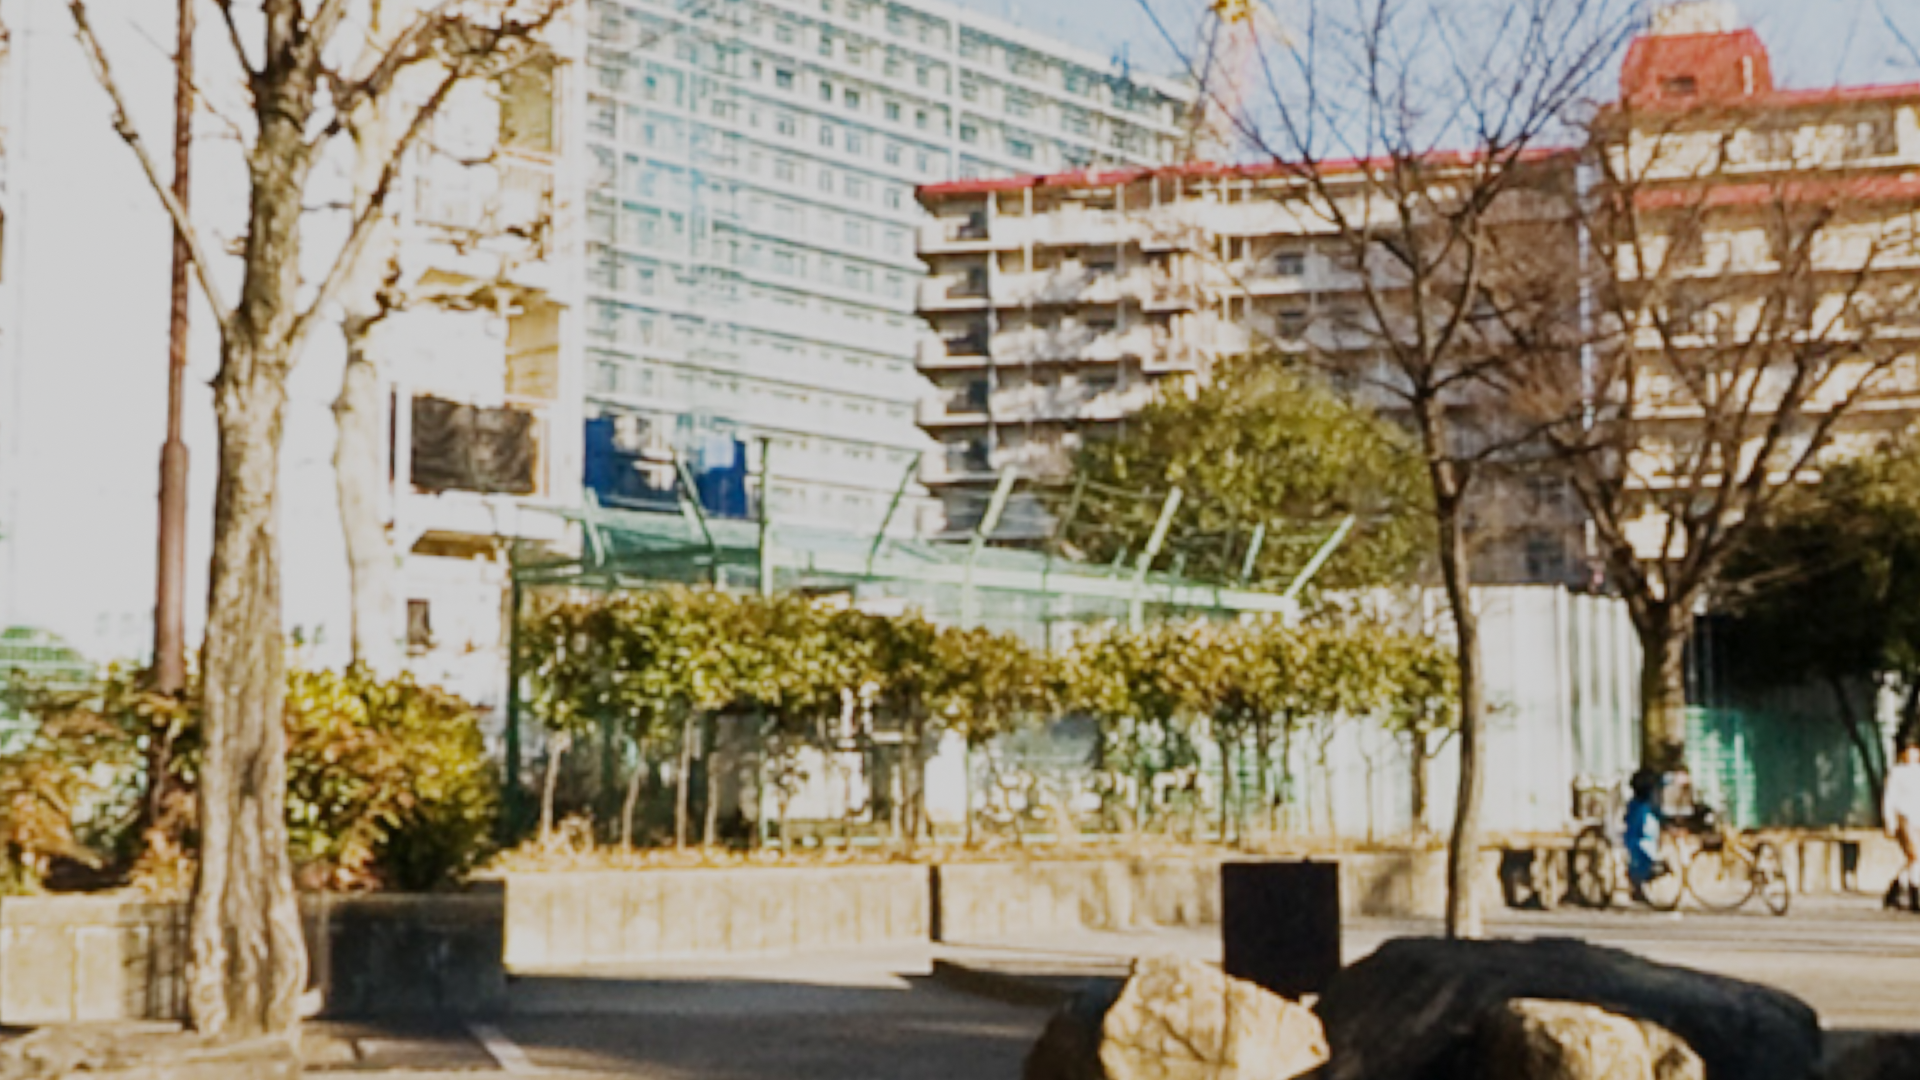
Environment textures
Change from layout to shading in the top
menu
Select the World option in the shader type menu
Choose a source file for the environment texture, and link its
color property to the surface property of the
World Output
You need to change the Viewpoint Shading to
Rendered to see the environment texture
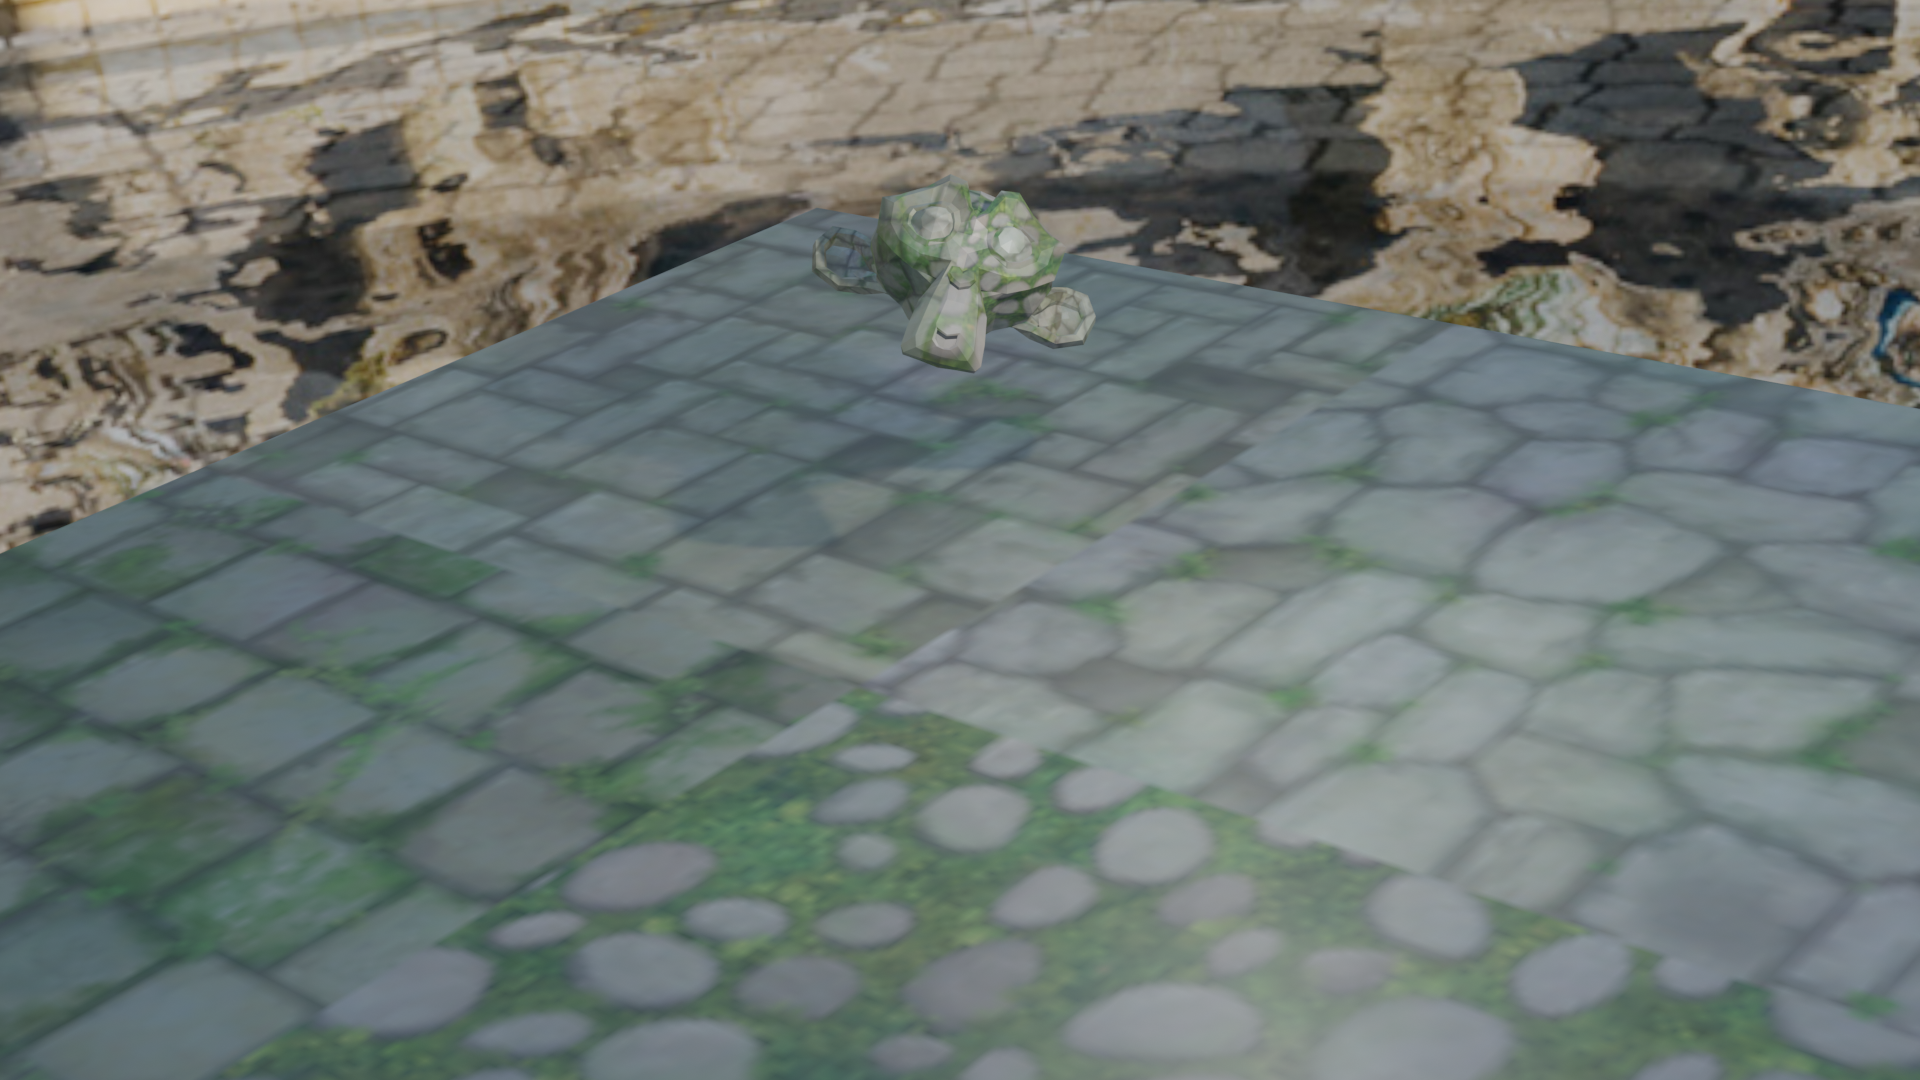
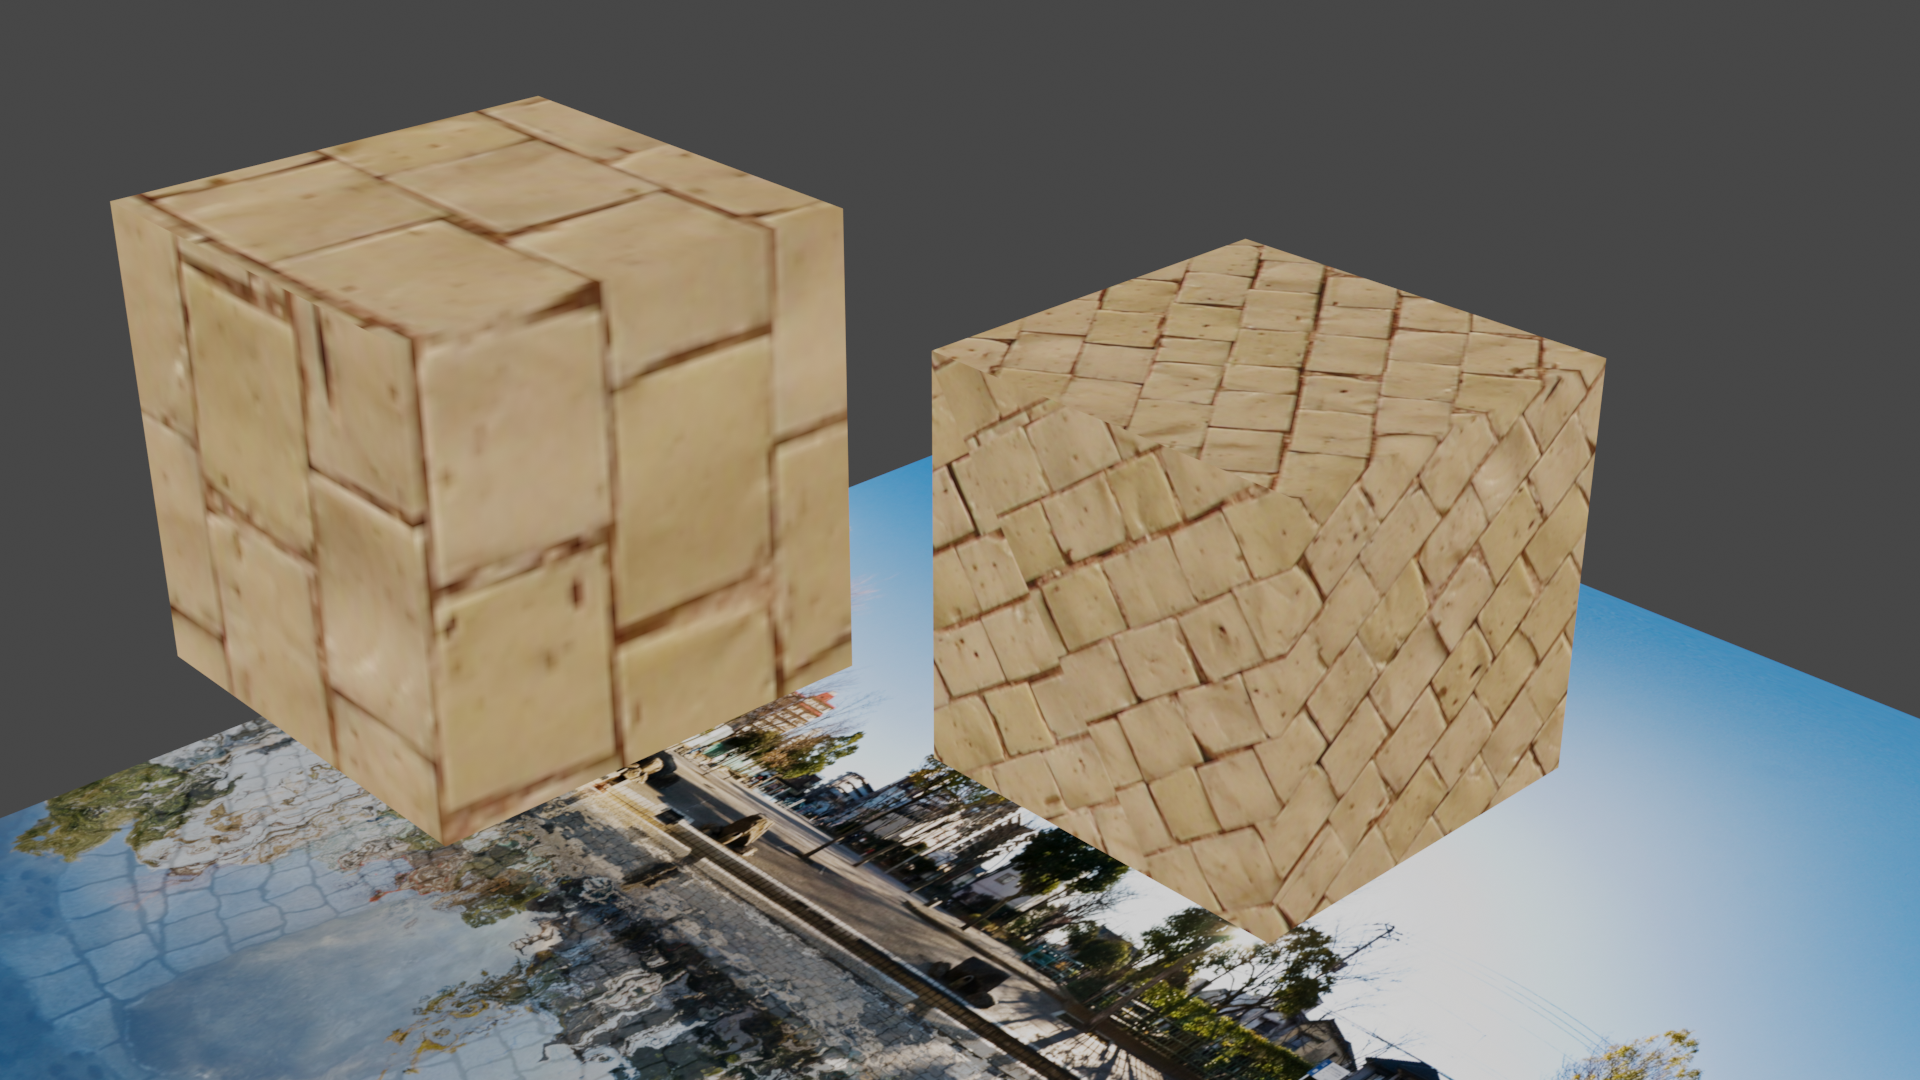
Object texture
Change from layout to shading in the top
menu
Select the Object option in the shader type menu
Use the Add button, choose Shader, then
choose Principled BSDF
Drag a source texture file into the shading view, link its
Color property to the Base Color property of
the Principled BSDF
Link the BSDF property of the
Principled BSDF to the Surface property of the
Material Output
You need to change the Viewpoint Shading to
Rendered to see the object texture
Lesson06 09/08/2022
Material nodes
You can choose different shaders to create different surfaces
You can combine different shaders on the same object: create
multiple shaders, then use them as inputs of the Mix Shader
node, and then link the Mix Shader node to the
Material Output node. You can also choose the weight of
each input shader
UV Mapping
Click the UV Editing button in the top menu
The surface of a 3D object is mapped to a 2D figure on the UV
plane
You can move, resize, rotate the figure on the UV plane as you do in
the normal layout view
Lesson07 09/12/2022
Text
Create text and then convert it to
mesh(object->convert->mesh),
then you can add materials to it
Then you add modifiers: add modifier ->
solidify -> change thickness
Light
You can add different types of lights: point light, sun light, area
light, spot light
You can change the color, power of your light
Lesson08 09/14/2022
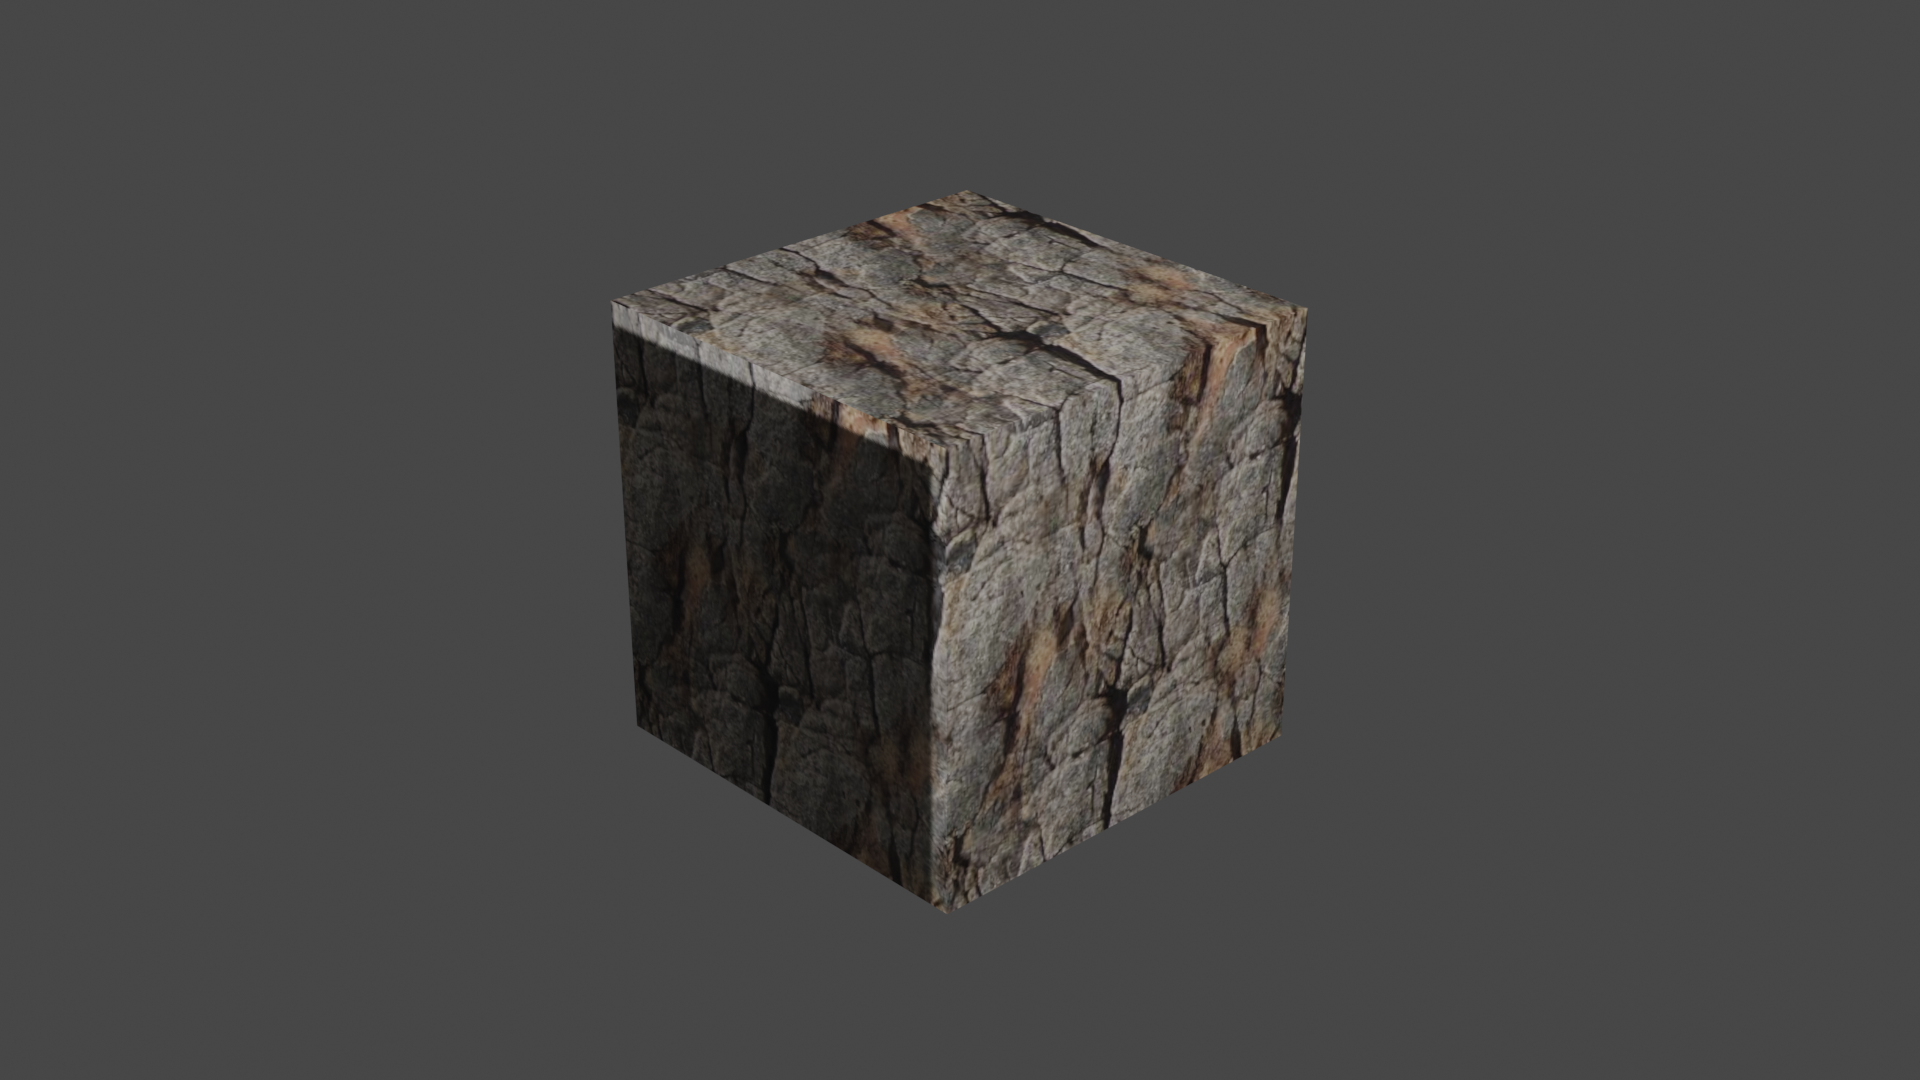
Use normal map(法线贴图) to create objects with uneven
surface(imitate roughness)
Create two Image Texture
Connect one Image Texture to the
Base Color of Principled BSDF, connect the
other to the Normal of Principled BSDF
Connect the BSDF of the Principled BSDF to
the Surface of the Material Output
Lesson09 09/15/2022
Practice for the coming quiz
Lesson10 09/19/2022
Use Texture paint mode to paint textures on an object
Lesson11 09/20/2022
Transformation of point \(q = (x, y,
z)\)
Translation: \(T_{p}(x, y, z) = (x + a, y
+ b, z + c)\), where \(p = (a, b,
c)\)\[ T_{p}(x, y, z) =
\left(\begin{array}{cccc} 1 & 0 &0 &a\\ 0 & 1 & 0
&b \\ 0 & 0 & 1 &c \\ 0 & 0 & 0 &1 \\
\end{array}\right) \left(\begin{array}{cc} x \\ y \\ z \\ 1
\end{array}\right)= \left(\begin{array}{cc} x + a \\ y + b\\ z + c\\ 1
\end{array}\right) \]
Scaling: \(S_{p}(x, y, z) = (a * x, b * y,
c * z)\), where \(p = (a, b,
c)\)\[ S_{p}(x, y, z) =
\left(\begin{array}{cccc} a & 0 &0 &0\\ 0 & b & 0
&0 \\ 0 & 0 & c &0 \\ 0 & 0 & 0 &1 \\
\end{array}\right) \left(\begin{array}{cc} x \\ y \\ z \\ 1
\end{array}\right)= \left(\begin{array}{cc} a * x \\ b * y\\ c * z\\ 1
\end{array}\right) \]
Rotation: let \(s = sin(\alpha), c =
cos(\alpha)\)\[ R_{\alpha}^{z}(x, y,
z) = \left(\begin{array}{cccc} c & -s &0 &0\\ s & c
& 0 &0 \\ 0 & 0 & 1 &0 \\ 0 & 0 & 0 &1
\\ \end{array}\right) \left(\begin{array}{cc} x \\ y \\ z \\ 1
\end{array}\right)= \left(\begin{array}{cc} c * x - s * y \\ s * x + c *
y\\ z\\ 1 \end{array}\right) \]\[
R_{\alpha}^{y}(x, y, z) = \left(\begin{array}{cccc} c & 0 &s
&0\\ 0 & 1 & 0 &0 \\ -s& 0& c &0 \\ 0 &
0 & 0 &1 \\ \end{array}\right) \left(\begin{array}{cc} x \\ y \\
z \\ 1 \end{array}\right)= \left(\begin{array}{cc} c * x + s * z \\ y\\
c * z - s * x\\ 1 \end{array}\right) \]\[ R_{\alpha}^{x}(x, y, z) =
\left(\begin{array}{cccc} 1 & 0 &0 &0\\ 0 & c & -s
&0 \\ 0 & s & c &0 \\ 0 & 0 & 0 &1 \\
\end{array}\right) \left(\begin{array}{cc} x \\ y \\ z \\ 1
\end{array}\right)= \left(\begin{array}{cc} x \\ c * y - s * z\\ s * y +
c * z\\ 1 \end{array}\right) \]
Transformation can be composed
Lesson12 09/22/2022
Animation
Default 25 frames/second
Use i to insert a keyframe, you can change location,
rotation, scale and other custom properties of the object
Modify Output Properties to change the output format to
AVI JPEG, then render animation, there will be an
avi file in the output folder
Lesson 13 09/29/2022
Exam 1 on modeling: got 100/100
Lesson 14 09/29/2022
Lesson 15 10/03/2022
3D printing
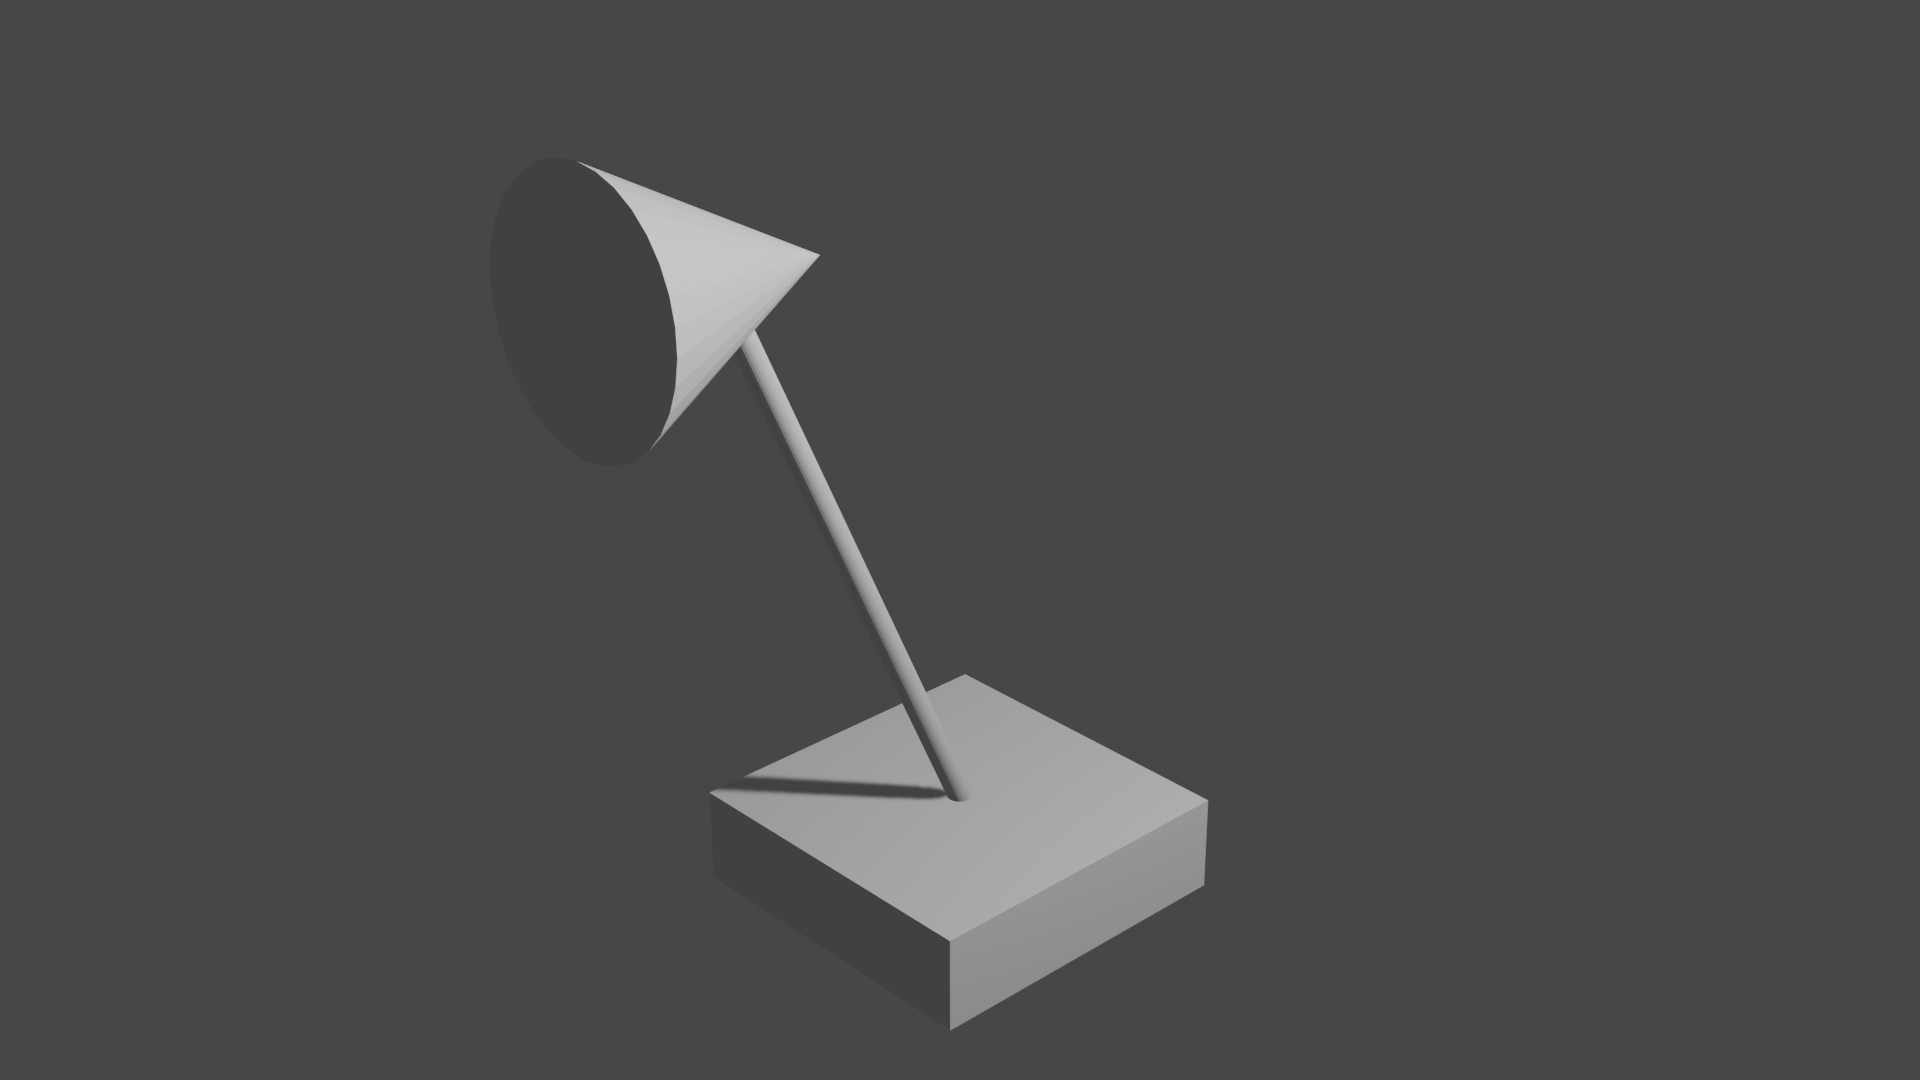
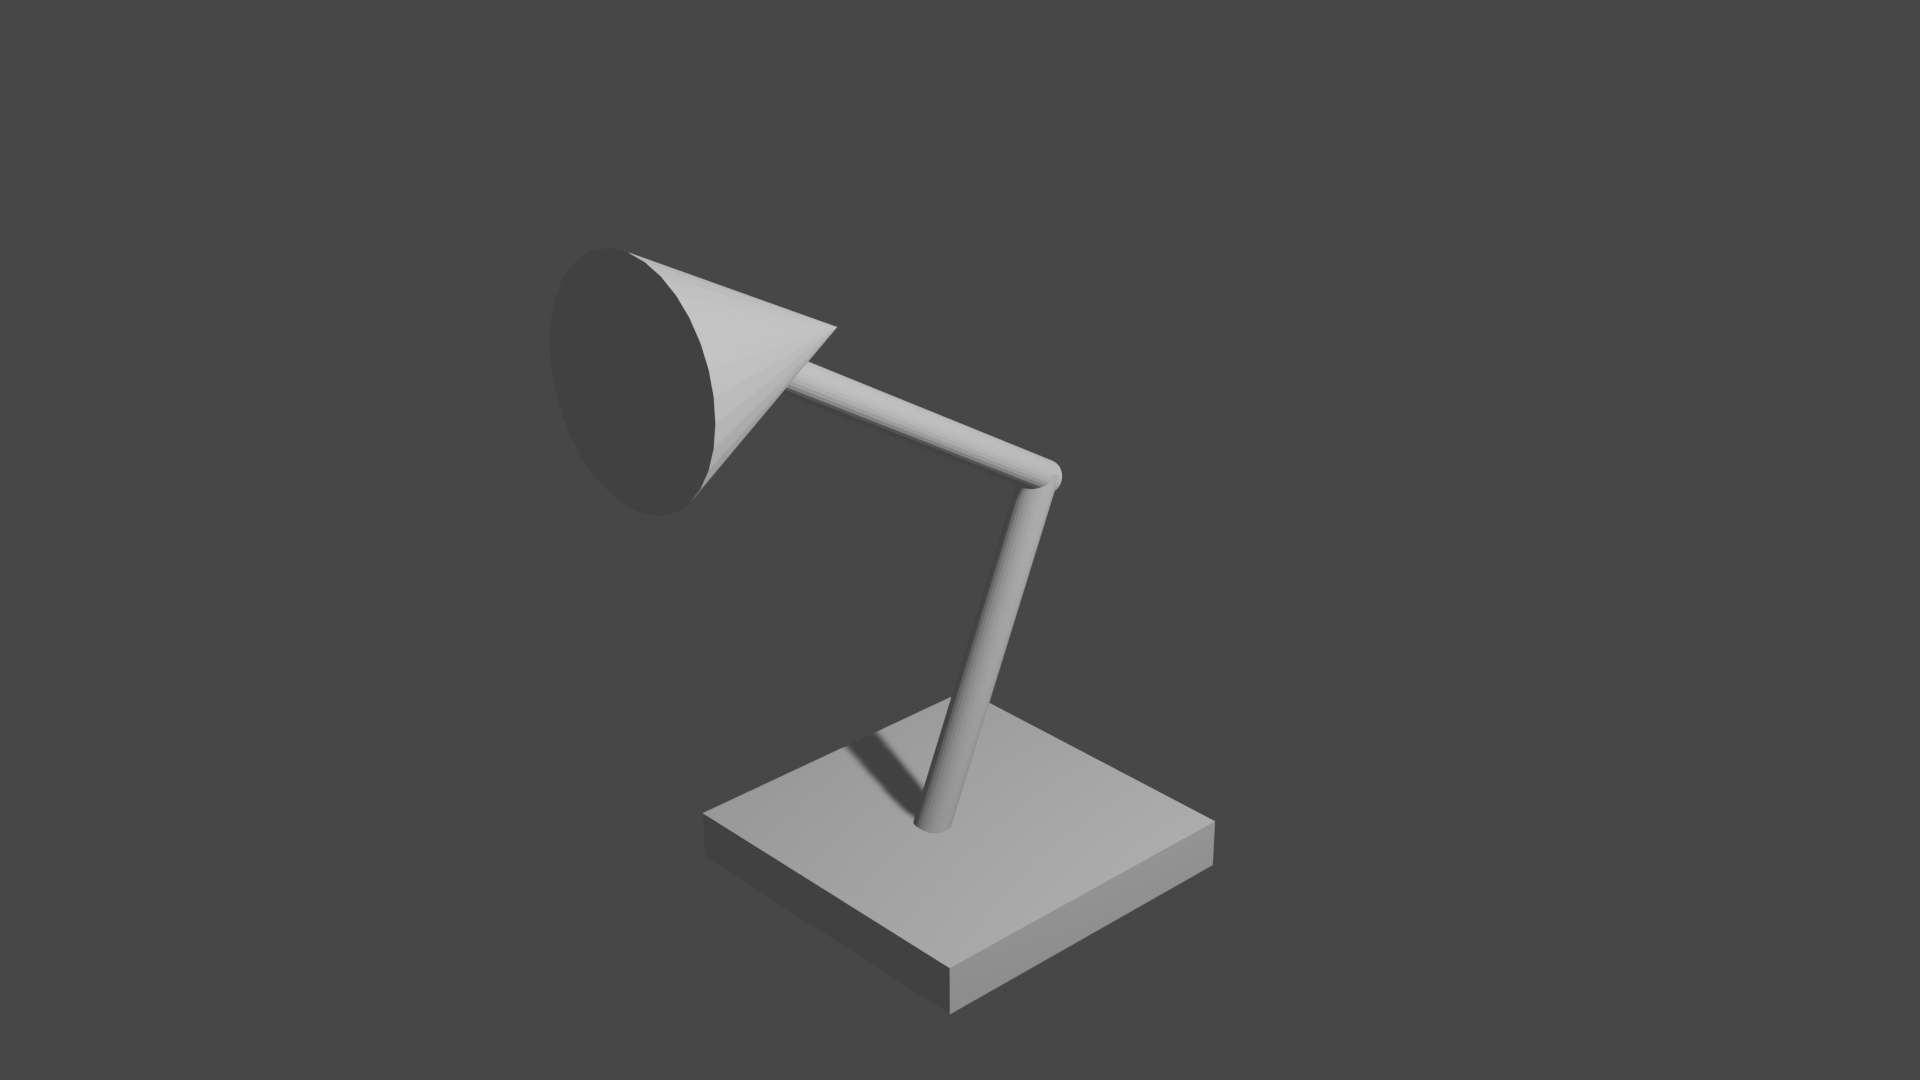
Lesson 16 10/06/2022
Jump lamp example
Use armature to add bones to the model
Select Layout model, then select Add ->
Armature
Lesson 17 10/12/2022
Add armature
Use Ctrl + Alt + Q to change to a quad view and
back
Make sure that the armature is inside the object when you setting
the parent(so some neighbor points are assigned to the armature), the
armature should be the parent of the object, and use the
With Automatic Weights mode to automatically assign
points
Use the Pose Mode of the armature to change the
position of the bones as well as the object
If you cannot see the armature, Click the
Object Data Properties on the right, in the
Viewport Display section, check the In Front
option in the Show section
Select the armature and the object to which is the child, then
select the Weight Paint mode, then you can adjust the
influence of the armature on the object
You can change the end frame when rendering animation
Lesson 18 10/13/2022
Makeup exam: did not take it because I got 100/100 on the first
exam
Lesson 19 10/18/2022
You can use some online free fbx human model and import
it into blender, which contains both model object and its armature
Rigify
Click the top left button, select Preferences, in the
add-ons section, search rigify, check the
Rigging: Rigify option
For human model, select Add ->
Armature, then select Human(Meta-rig)
Use the Pose Mode of the armature to adjust its position
Lesson 20 10/19/2022
Shape Key animation
Create an object model, click Object Data Properties on
the right, Click + in the Shape Keys section
to add a basic shape key
Add other shape keys, go to Edit Mode, click the shape
key you want to edit, do some modifications on the model, then go back
to Object Mode, adjust the value to show the
influence of that shape key
For animation, select a key frame, pause your mouse on the value of
each shape key, press i on the keyboard, then move to the
next key frame
Lesson 21 10/20/2022
Practice exam 2
Lesson 22 10/24/2022
Lesson 23 10/25/2022
Lesson 24 10/27/2022
Practice exam 2 (this should be exam 2, but there was an network
error in the classroom)